I’ve made a few posts in the past about how much I like my DJI Mini 2. I was never a master photographer, but the tools they provide make it fun to learn. While the jury is still out on if there is any real benefit to using the DNG format vs JPG with my model and camera, I wanted to see any differences with my own two eyes.
This post isn’t about any comparisons between the two formats. It’s more about viewing the DNG files in my current photo editor of choice, AfterShot Pro 3 from… Corel.
Yes, I understand it is no longer the mid to late 90’s so the name Corel doesn’t have as much sway in the creative world as it used to, but this is the lengths I will go to avoid using an Adobe product. AfterShot Pro, for an amateur digital photographer, isn’t that horrible. It has all of the features I have needed for my attempts at digital photography when working in other raw formats like CR2 for my Canon. Plus it is a pay once and own license and not a subscription.
Although I think with the lack of updates the product has had the past couple years, it is safe to say, on its final legs.
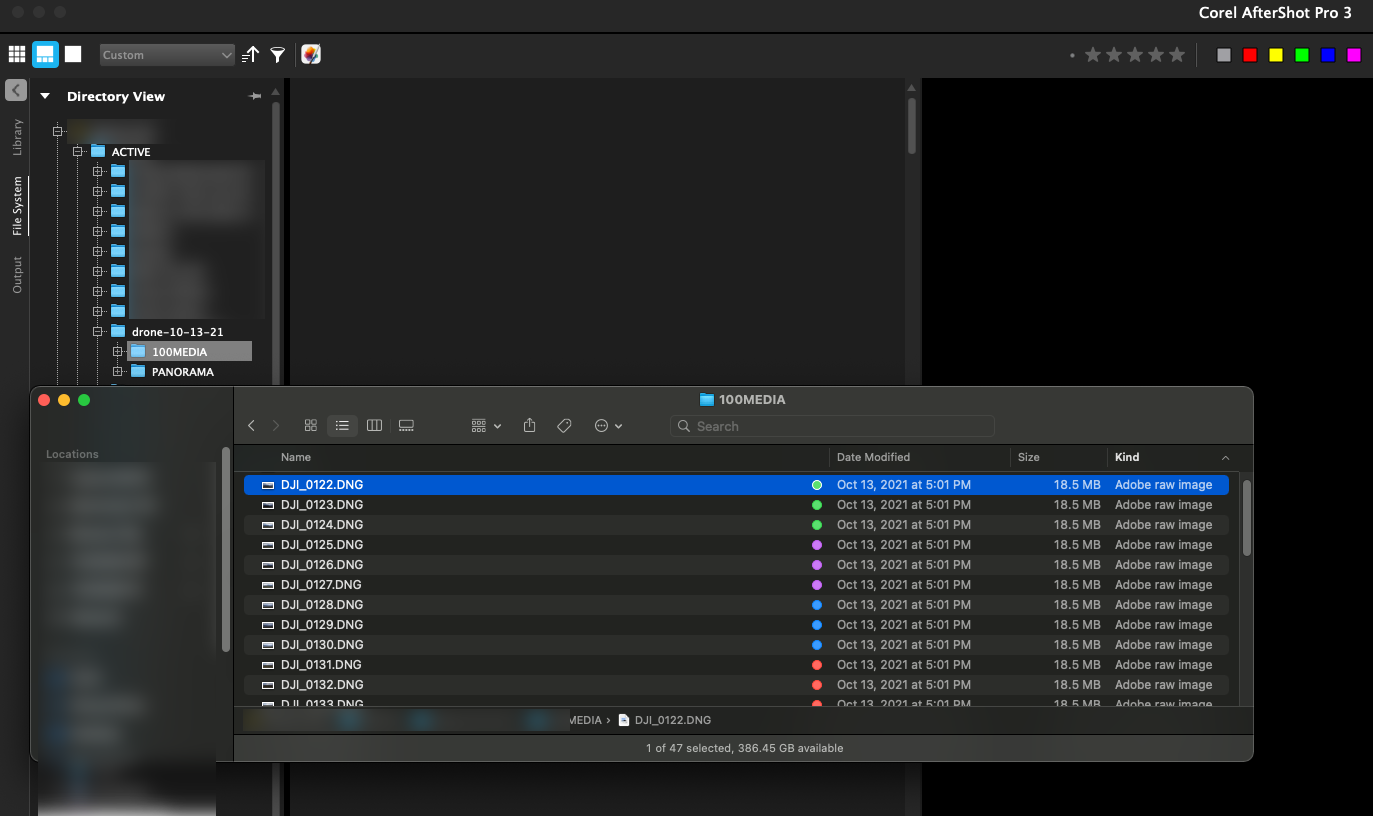
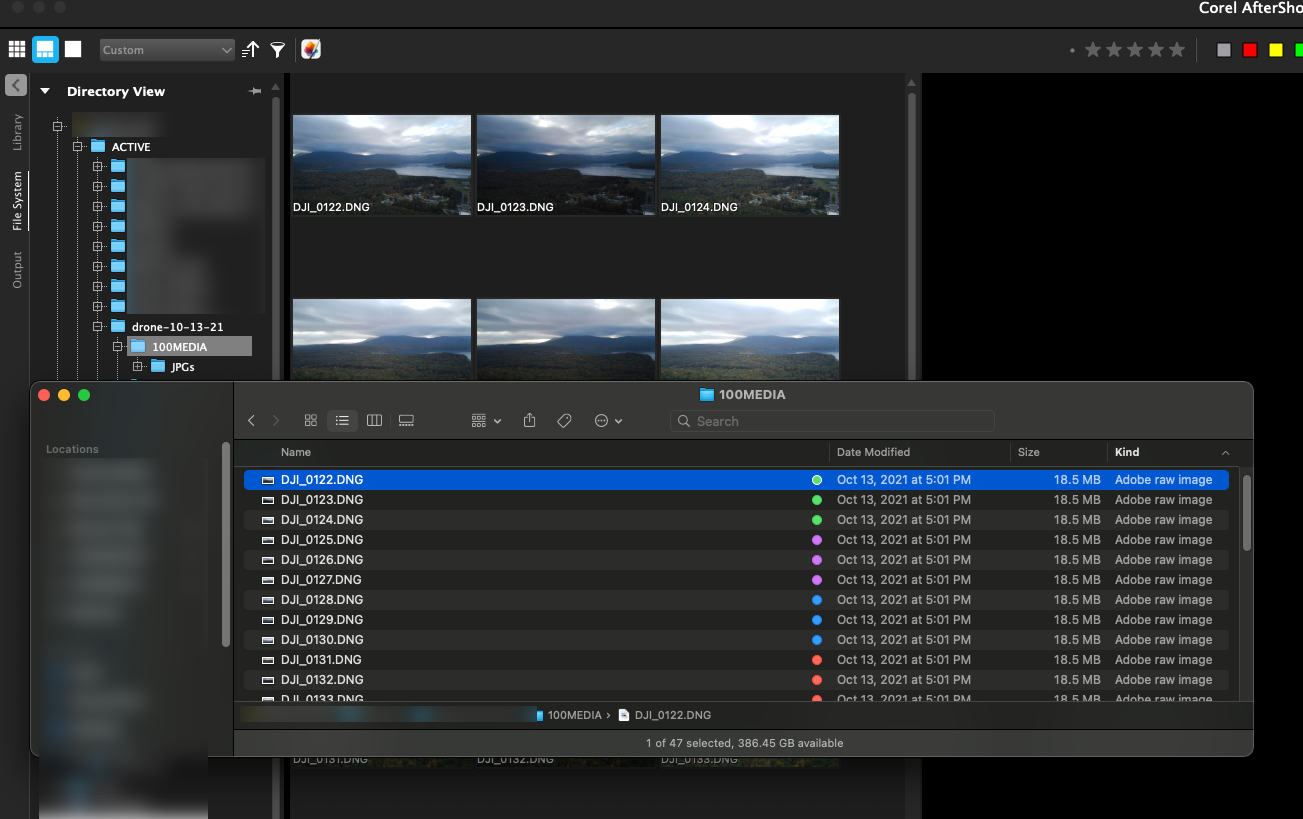
Anyway, the main problem I am having is that the DNG files written out by the Mini 2 are not read at all by AfterShot Pro 3. They are getting scanned, as the AfterShot Log shows, and no errors are coming up. But something is stopping them from actually appearing in the browser as Exhibit A here shows:
So I decided to see if there was something I could do to fix support. The main idea of what I did, was originally documented by someone else here on GitHub for enabling support for another camera type when you know that the compressed format is the same. Because of this, I think this fix will work for a number of different DJI drone cameras that may currently not show up in AfterShot Pro 3. When originally searching for an answer to this problem, I did come across a few forum posts complaining about the lack of support.
The first step was I installed the only DJI camera plugin that was listed for me inside AfterShot Pro 3. It is for the Inspire 1, but that doesn’t really matter for what we are doing. Download, install it, and then quit out of AfterShot.
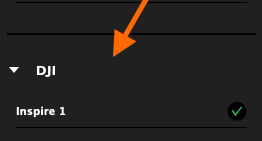
- The first step was I installed the only DJI camera plugin that was listed for me inside AfterShot Pro 3. It is for the Inspire 1, but that doesn’t really matter for what we are doing. Download, install it, and then quit out of AfterShot.
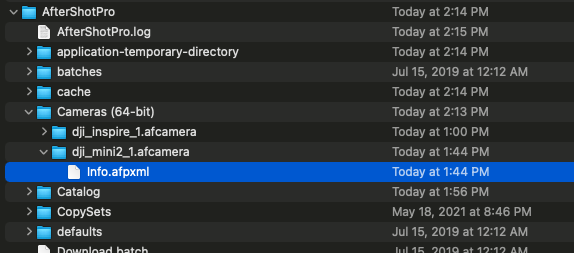
2. Next you will want to navigate to your Camera Plugins folder for AfterShot Pro 3. This is wherever you have designated your User Folder within AfterShot. After installing the plugin from 1, you should see a folder called dji_inspire_1.afcamera. Duplicate that folder and rename the duplicate to dji_mini2_1.afcamera. I am sure you can name it whatever you want too. In your plain text editor of choice, open the Info.afpxml inside the mini2 folder.
3. Before editing the Info.afpxml text, open one of your DJI created .DNG files in your EXIF previewing tool of choice. For me, it is plain old Preview.app in macOS. You are going to need to get the camera model number from the EXIF tags. In preview for me it was available in two different panels. The DNG panel and the TIFF panel both listed the model number.
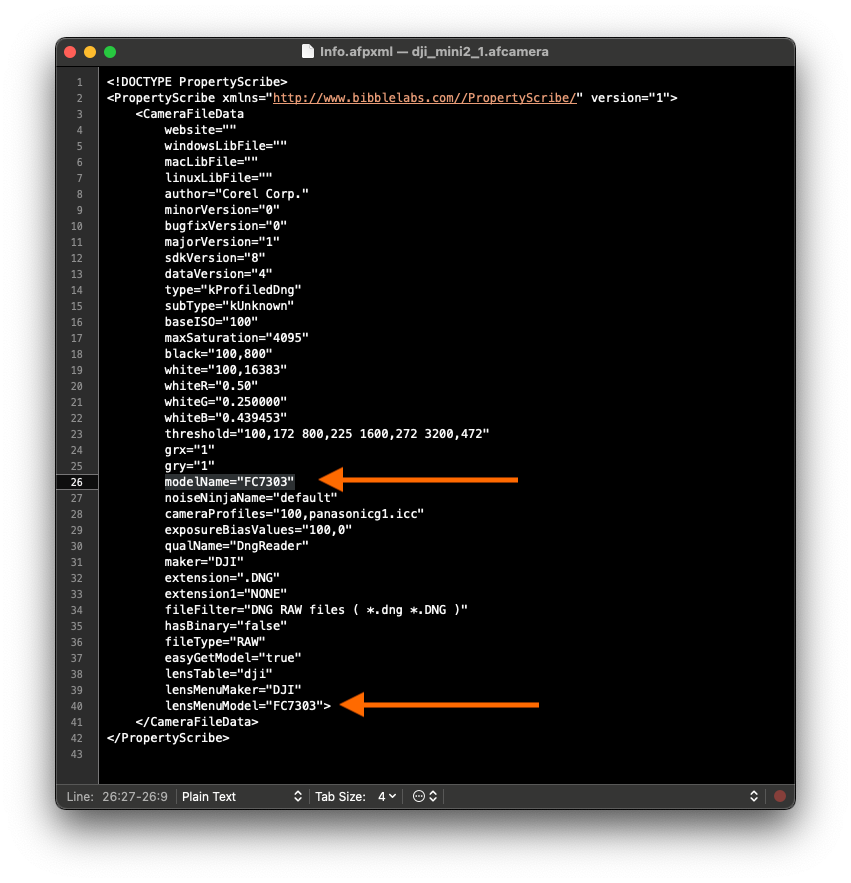
4. With that model number (FC7303), I can go into the text editor and replace all the other references to previous (FC350 in the case of the Inspire 1 preset) with the model of my drone, and then save out all of the changes. It should only be two times. I am sure the other fields can provide useful information too when filled out, I just have no clue what to put in them.
5. Once you have saved out the Info.afpxml, you should be able to launch into AfterShot Pro 3 and go to a folder of DJI drone shot DNG files and view them to your heart’s content. This also applies when sending photos to HDR Merge and other features.
If you have a DJI Mini 2 drone and don’t want to do any of these steps, you can download the plugin I made to use in this post. Unzip and put it in your Camera (64-bit) folder in your AfterShot Pro user folder. No support provided, not responsible for anything NOT working. 😅
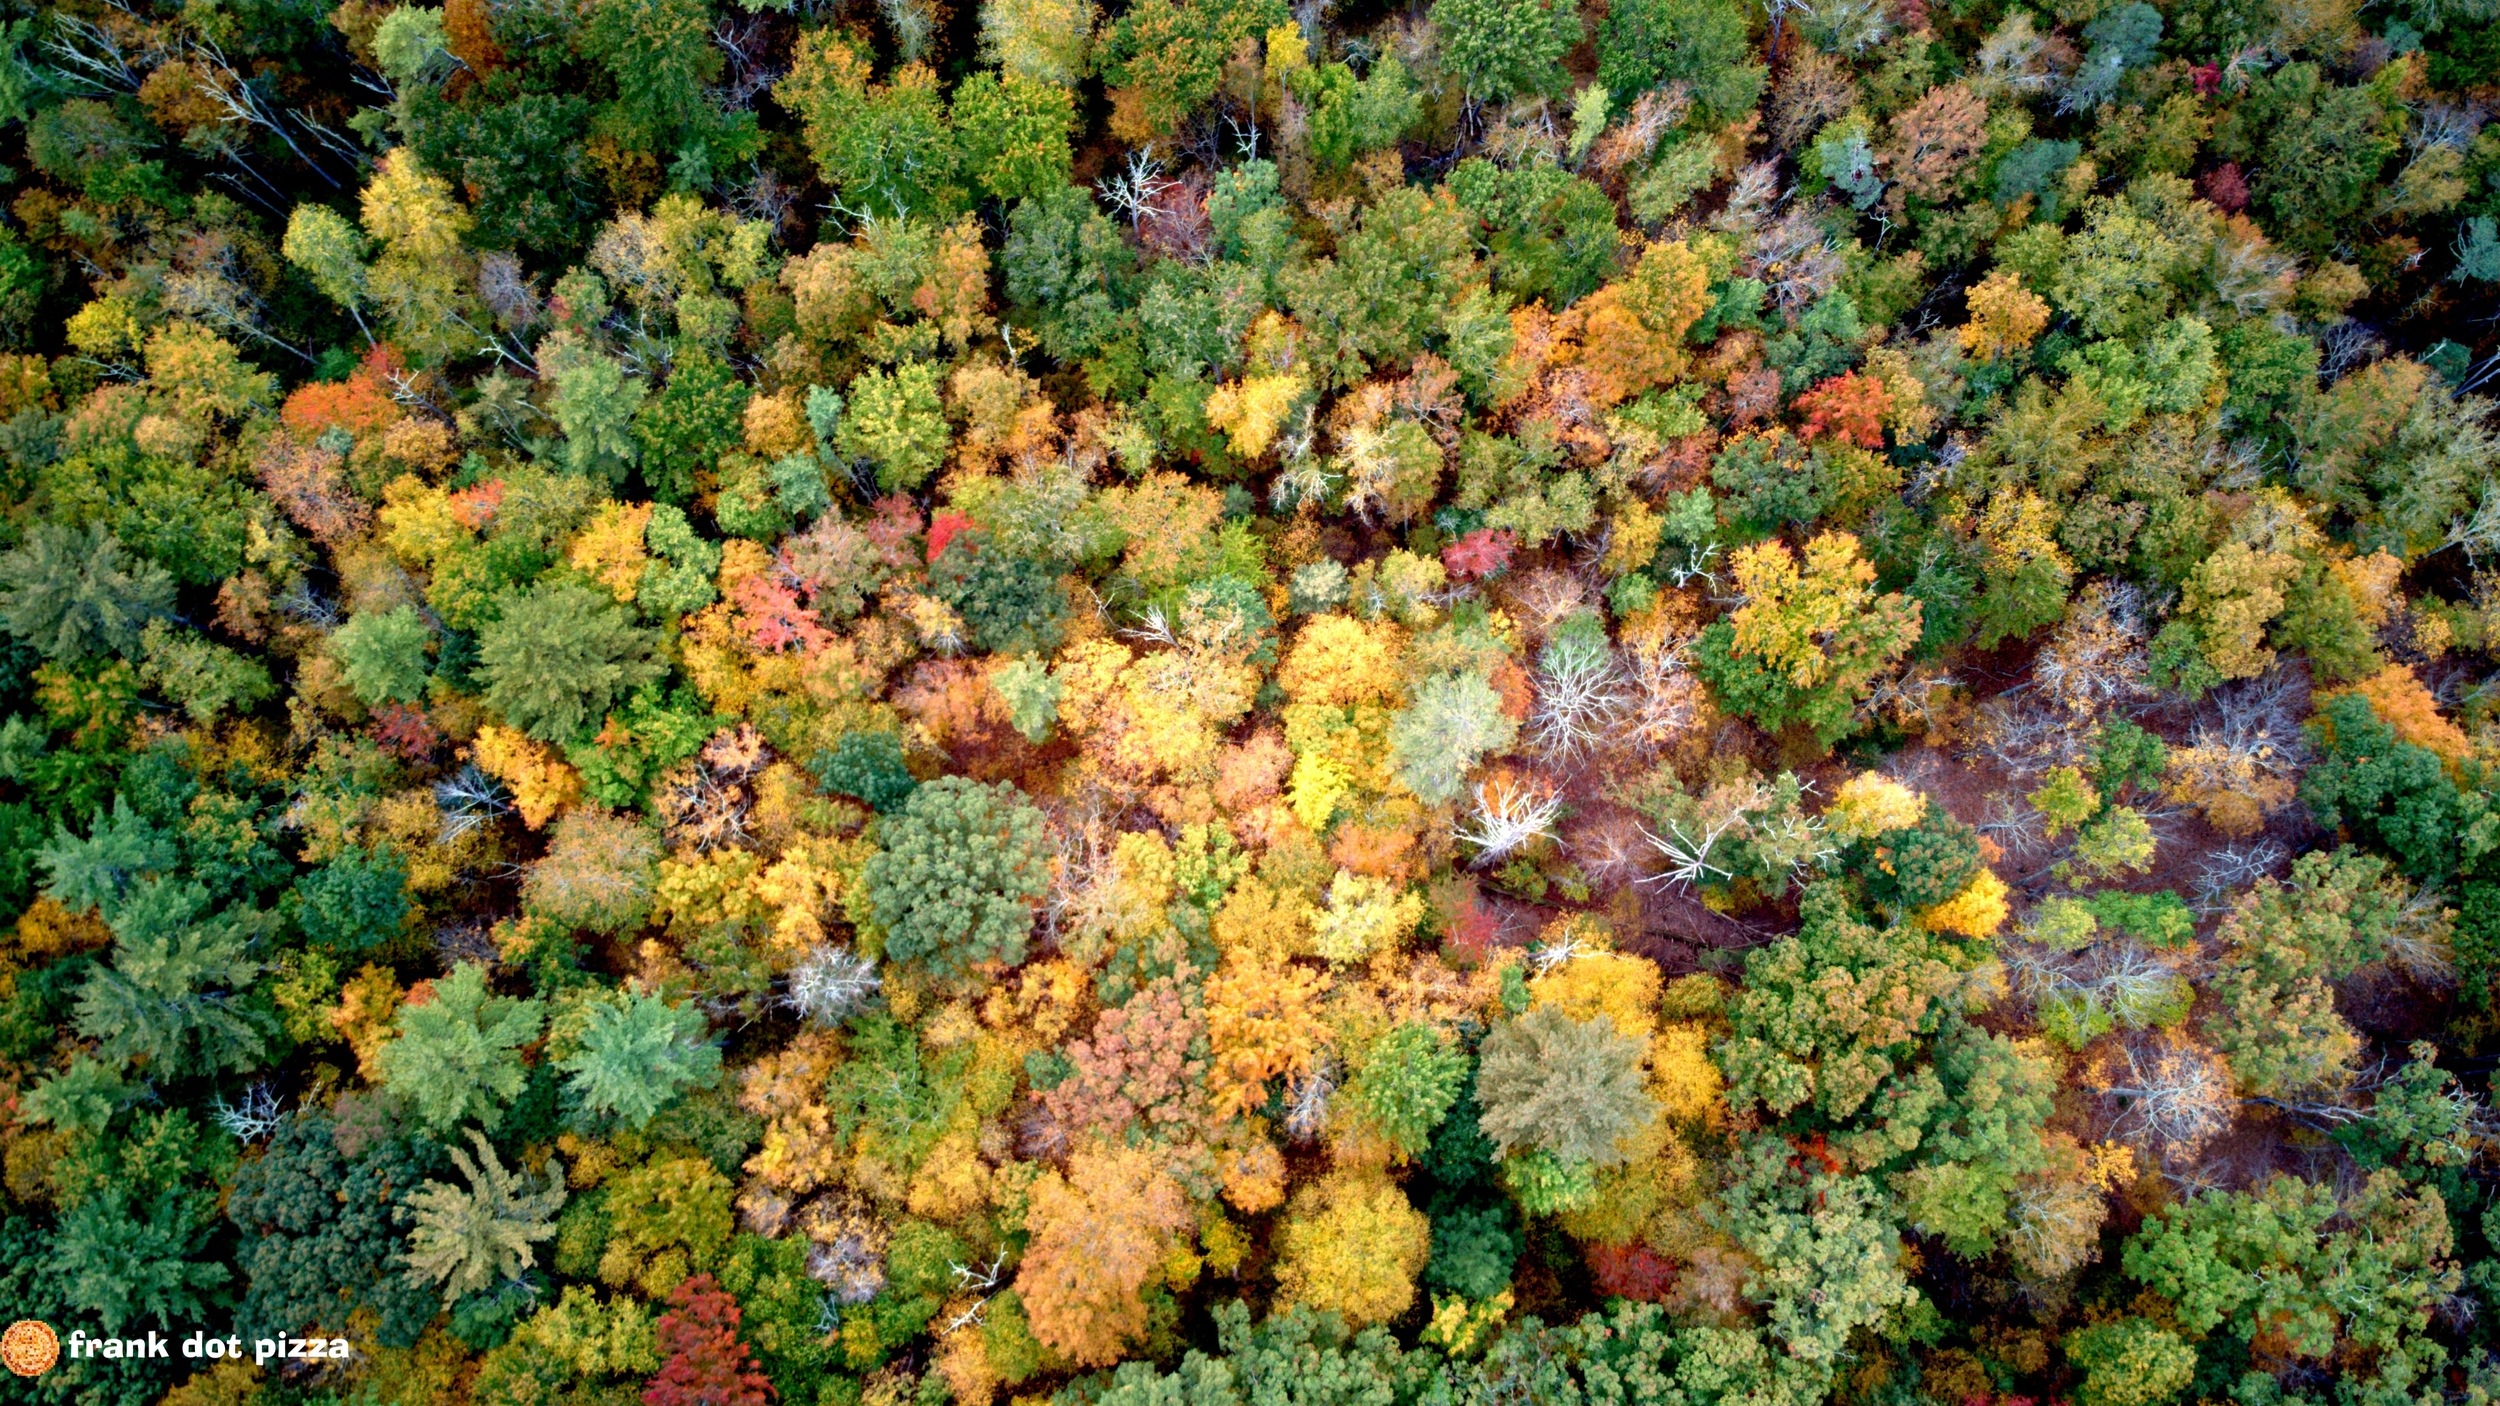
And as a bonus here is an overexposed foliage shot that I processed with DNG inside AfterShot Pro 3.